In part 1 of this series, I created a product catalog repository interface and a simple in-memory repository. In this post I am going to start the implementation of a repository going against a MongoDB database.
There are a couple of options to get a MongoDB database setup.
- You could stand up your own VM(s) using this image from VM Depot provided by Cognosys. It will provide a MongoDB instance running on ubuntu.
- Use Mongolab, which essentially is MongoDB-as-a-Service.
For this implementation, I’m going with the latter.
In this post, I’ll share my experience creating the database and populating it with some data.
Create a MongoDB Database
If you don’t already have a Mongolab account, you can get one here.
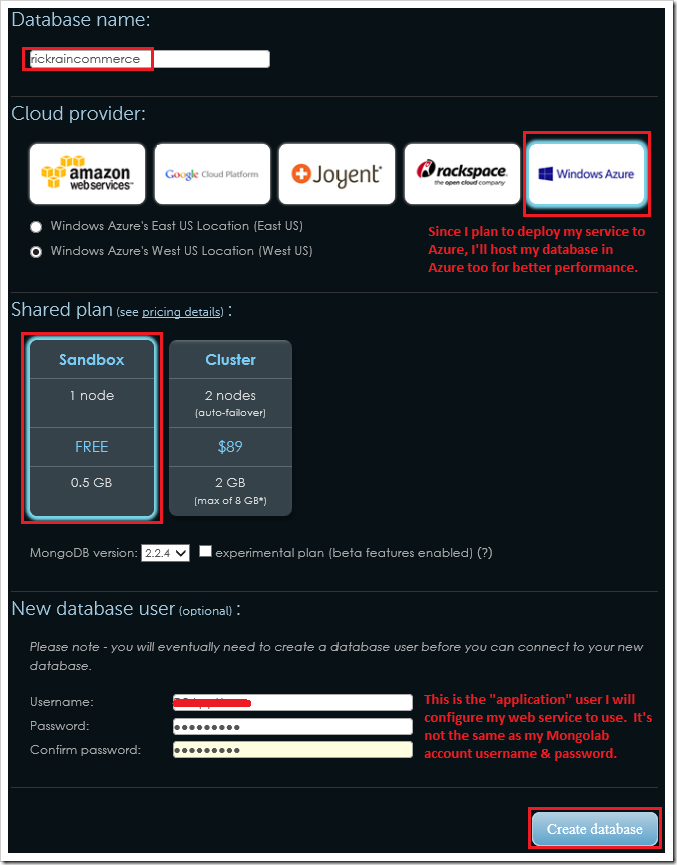
To create a database, click the link to create a new database and fill out the page. For example:
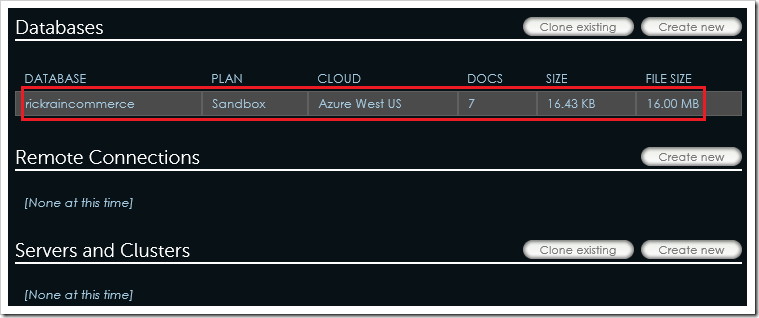
After a few seconds, I was presented with this page, providing a link to my new database “rickraincommerce“.
Populate the Database
Now that I have a database I can work with, I need to add some data. Clicking on my database takes me to a page that displays my database connection string. It also has tabs to manage collections (think of tables if you come from a RDBMS world), users, backups, statistics, and tools. A pretty handy page.
You can use this web interface to create a collection and add documents to it. You could write a simple little client to add documents. Use the MongoDB shell. There are many ways to skin this cat. As I was playing around with this, I came up with an approach using the Mongolab REST API’s. That’s right! They provide REST API’s too!!!
Being a big fan of REST API’s, I chose to try out this approach to populate my database with a “products” collection.
Get a Mongolab REST API Key
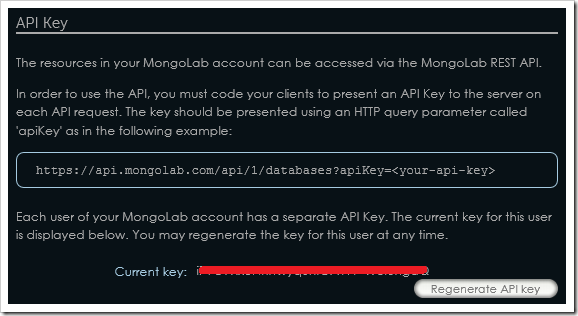
All the Mongolab REST API’s require an API key. You can get yours by clicking on your “user” link in the upper-right corner of your Mongolab screen.

This will take you to a screen that will show you your API key. There’s also a button to regenerate your key ( a good practice is to roll your keys regularly ). This screen also provides the base URL for the API’s.
Get Some Product Data to Add to the Database
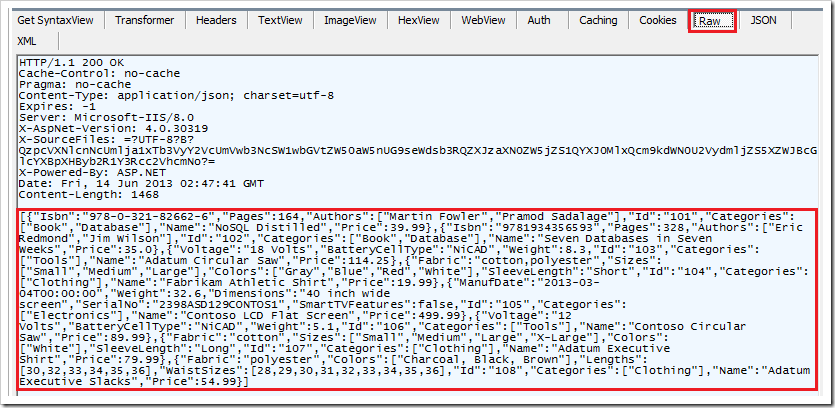
I already have some test data in this repository I created in Part 1 of this series. So, I just decided to run this solution and open up Fiddler to get the data. All my test products have a product Id between 101 and 108, so this search query against my in-memory repository will give me all my data at once.
NOTE: If you want to skip to the next section, a copy of my test data in JSON format is available here.

Copy just the JSON content from the response ( don’t copy the headers ) and save this off somewhere ( notepad for example ). A small (optional) change I made to the data is I deleted the “Id” field from each product. It’s perfectly fine to leave it, but Mongolab is going to create a new “_id” for each product anyway when I add it so I’m going to use that for the Id going forward.
Add Product Data to MongoDB Using Mongolab REST API
Using the Mongolab REST API URL, https://api.mongolab.com/api/1/databases?apiKey=<your-api-key>, a quick POST from Fiddler will take care of this.
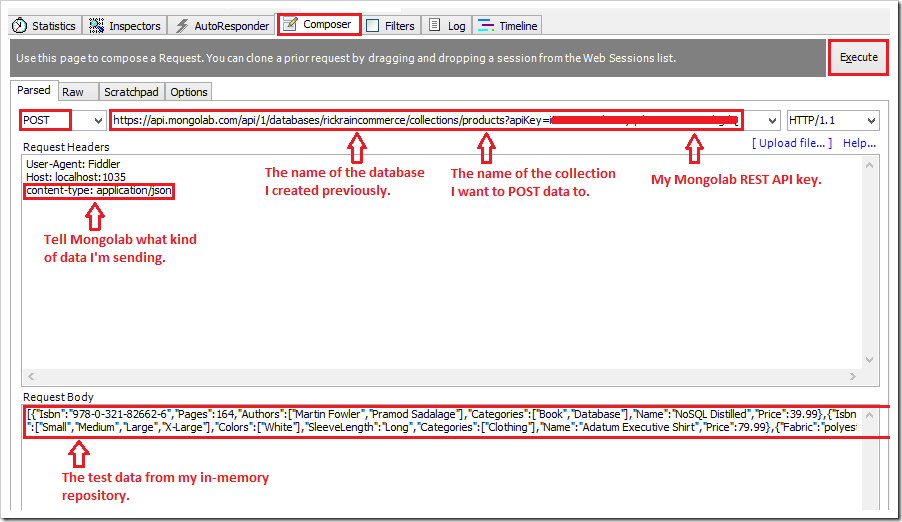
Going back to the Mongolab collections, I see my products collection was created and has 8 documents (my 8 test products) in it. Clicking on the products will drill into the document for each product.

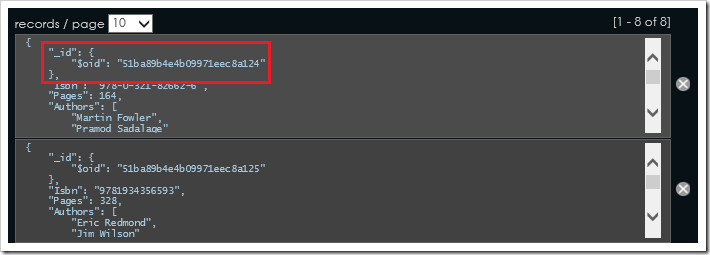
Looking at just the first few products I can verify the data was POSTed correctly. I also see the “_id” field that MongoDB created for each of these products. I’ll talk more about this field in Part-3.
Is it Really Running in Azure?
Pulling the server name from the connection string, I ran nslookup on it just to see how it resolves. Sure enough, it’s got a *.cloudapp.net URL, where all cloud services in Azure exist.
Conclusion
That’s it! Now I’ve got a MongoDB instance with some data in it. In Part-3 of this series I’ll start writing the code to interact with it.

Comments powered by Disqus.