The VM Depot by Microsoft Open Technologies is a great community resource for finding pre-configured images of various operating systems and software that you can deploy on Azure. You can also create and share your own images there.
This week I was in need of a graph database running Neo4j. So, I went to the VM Depot and found this image: Neo4j Community 1.8 on Ubuntu 12.04 LTS. I’ve not used any flavor of Unix since college and setting up Neo4j is not something I’ve done before. So, this was pretty much a complete green field experience for me. This blog captures the steps necessary to set this up based on my experience.
Import Your Publish-Settings from Azure
Get your Publish-Settings data for your subscription imported if you haven’t already. This link will get you going.
https://windows.azure.com/download/publishprofile.aspx
Next, open a Windows Azure Command Prompt.
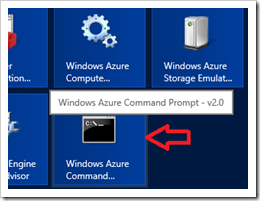
At the Azure SDK Command Prompt, run the following command to import your publish-settings data.
1
azure account import <publishsettings file>
Create the Virtual Machine
Open a browser and go to the VM Depot. A search for “neo” returns a couple of options. I chose this one from Cognosys.

Click the Deployment Script link and choose the region you want to create the virtual machine in. This will create the script you need to deploy this image. Replacing the DNS name, user, and password with your preferences should be all you need. I added the subscription parameter to my script since I have multiple subscriptions. If you just have one then you don’t need it. This step only took about 30 seconds.
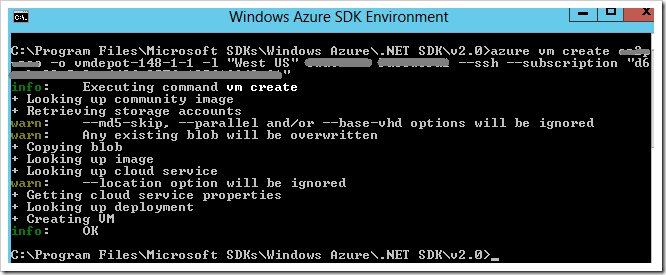
Go into your Azure portal and you should see your new image there. It took a minute or two for mine to finish starting up before it reached the “running” status.

Next, add a public endpoint for port 7474. This is explained in the documentation for this image (although easy to miss if you’re not paying close attention).
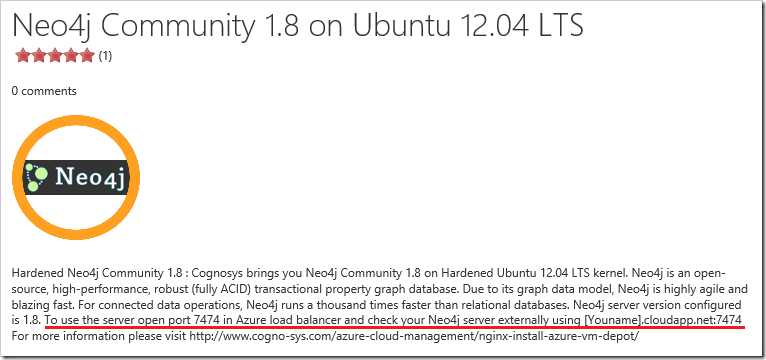
You can give the endpoint any name you like but the protocol needs to be TCP and the port 7474.

Now that the virtual machine is up and running, I can connect to it for some final configuration settings.
Configure the Virtual Machine / Start Neo4j
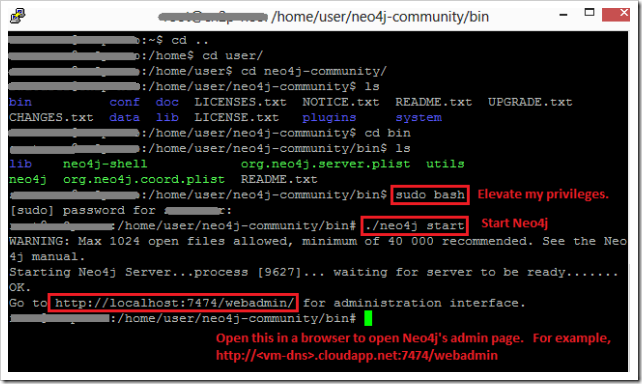
At the time of this writing, this image does not automatically start the Neo4j server. Starting the server I found to be a pretty simple task. However, when Windows Azure decides to recycle your virtual machine (and it will), you will have to connect back to your virtual machine and restart Neo4j. To mitigate this disruption that my application will experience when this virtual machine is restarted, I configured it to start Neo4j automatically (see below).
PuTTY is the tool I used to SSH into the virtual machine. It can be downloaded from here.

Start PuTTY and enter the host name (ie: <vm-dns-name>.cloudapp.net) of the virtual machine in Host Name field. Make sure the Port is set to 22, which is the SSH port of the virtual machine.
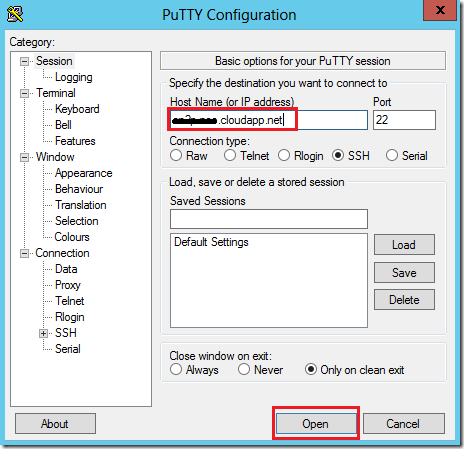
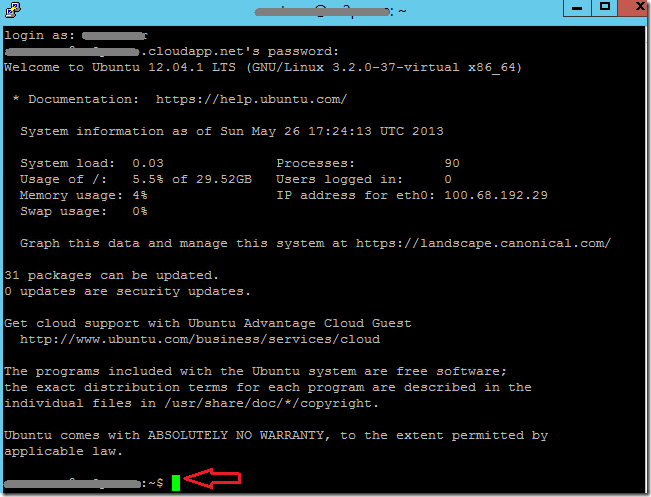
Click Open to open a session to the virtual machine. For the login name and password, use the user and password specified in the deployment script (above). After successful login, you land at a prompt as shown here.
Start the Neo4j server…
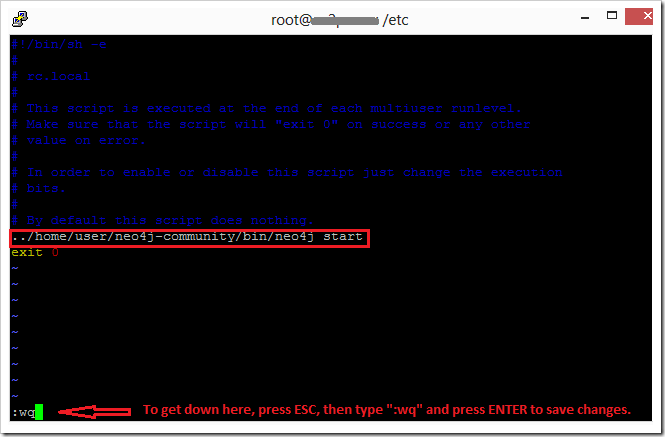
Configure Virtual Machine to Start Neo4j on Startup…
There is a file named rc.local that my research suggests is the place to put commands to run when a Unix server is started. This file is located in the etc directory. I used the vi editor to edit this file.

In the vi editor, I added the full path to Neo4j and the start command.
That’s it! Close/Exit the SSH session.
Test Things Out
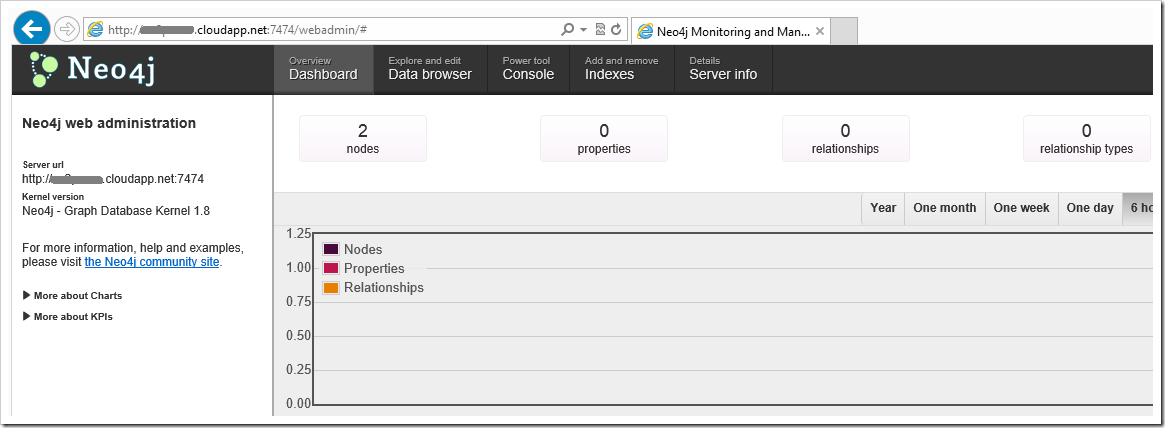
To test this setting, I went back to the Windows Azure portal and restarted my virtual machine. Shortly after the machine restarted, I was able to open a browser and access the Neo4j admin portal.
References
http://ss64.com/vi.html

Comments powered by Disqus.